对于jetson nano 的docker部署jetson |
您所在的位置:网站首页 › jetson inference录像 › 对于jetson nano 的docker部署jetson |
对于jetson nano 的docker部署jetson
|
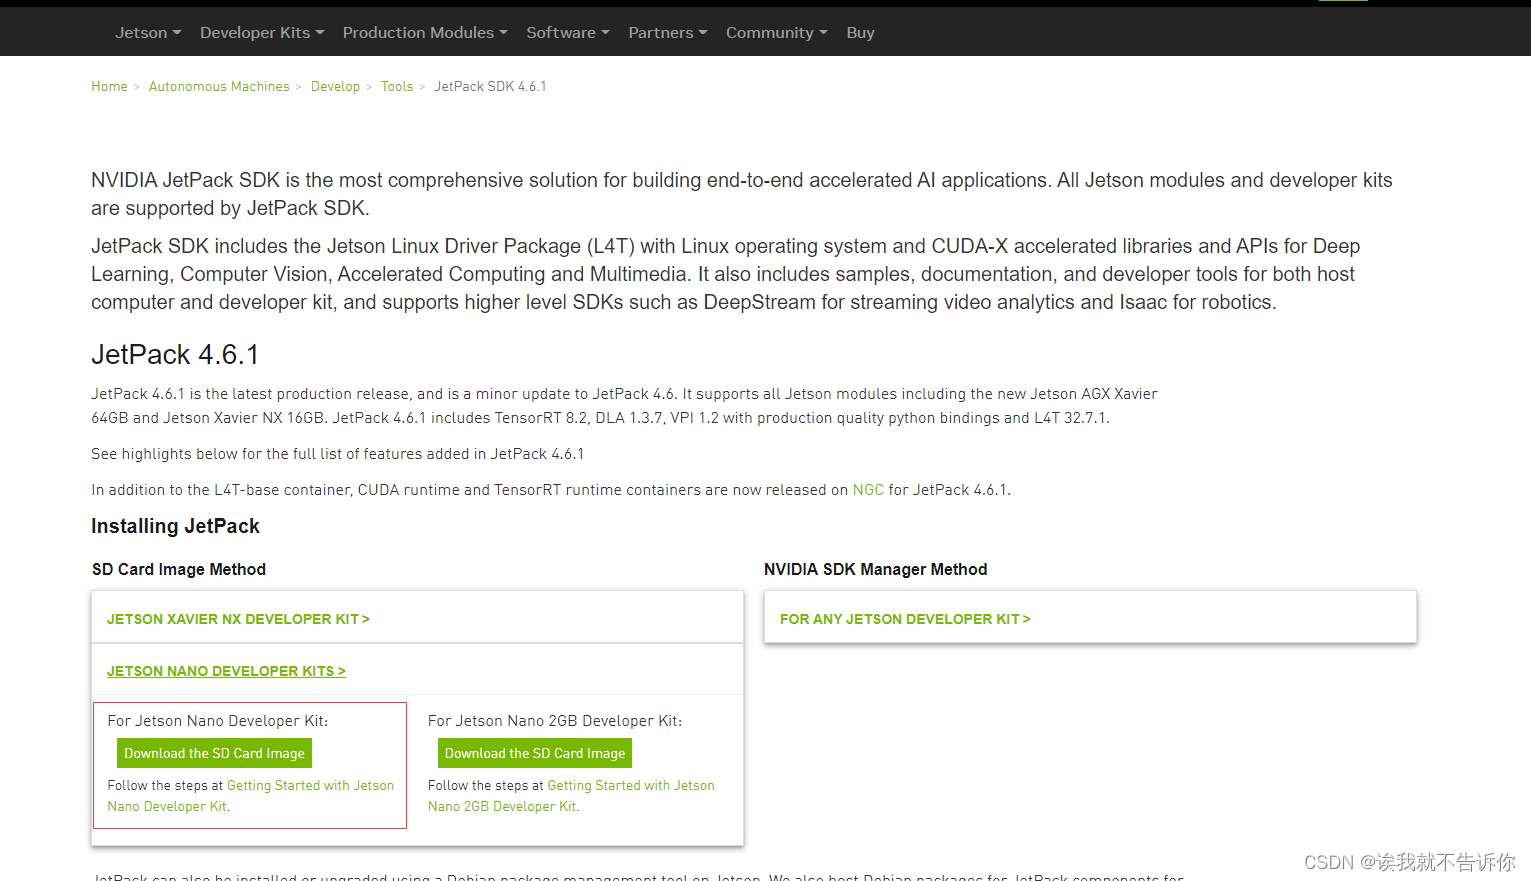
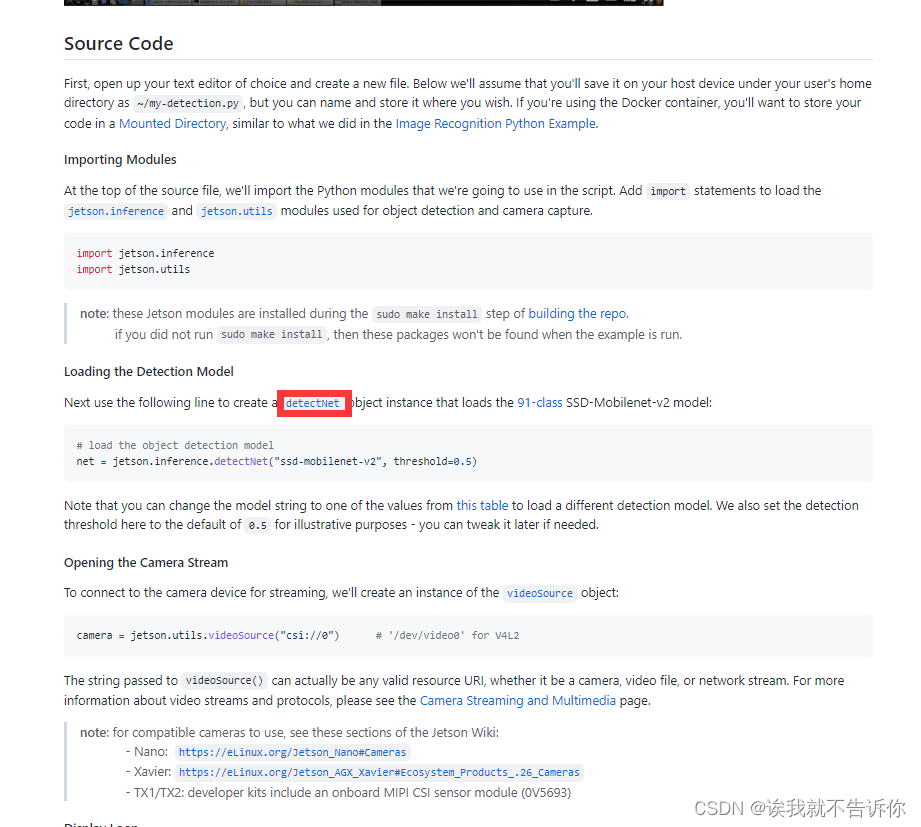
对于Nvidia jetson nano来说是一款十分优秀的网络模型部署设备我对于nano来说也是学习了2个星期左右.这也是对我这一阶段做一个复习总结吧! 目录 烧录 下载jetson-inference dock镜像部署操作 跑个例程助助兴 找到函数接口进行调整 我用的是jetson nano a02 版本 是4GB内存大小的 烧录首先你得获取一张至少是32GB的TF/sd卡去烧录jetson nano的系统镜像 系统镜像的获取是在 网址:JetPack SDK 4.6.1 | NVIDIA Developer
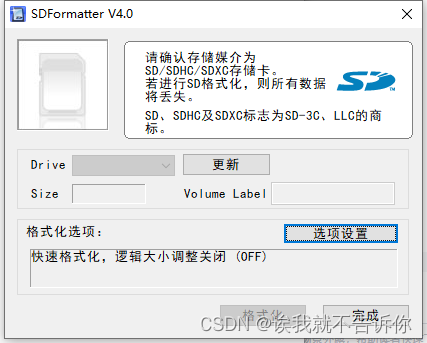
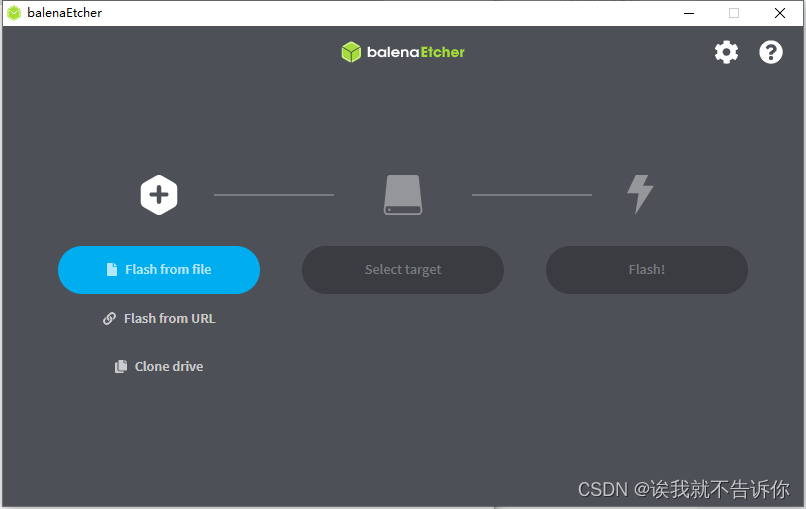
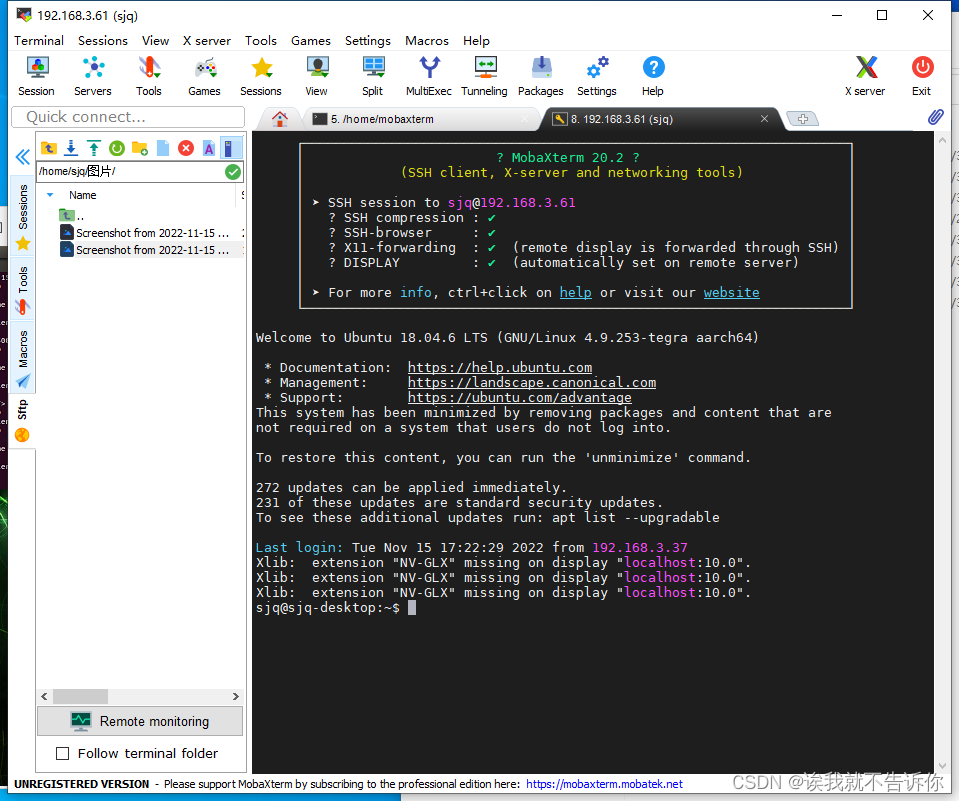
框框内就是jetson nano 4GB对应的系统镜像.直接下载就行.用了两个软件,还有另外一个链接软件也是很常用的 1.SDFormatter (sd卡格式化软件) 2.balena.etcher (镜像烧录软件) 3.MobaXterm(ssh链接以及文件传输软件)
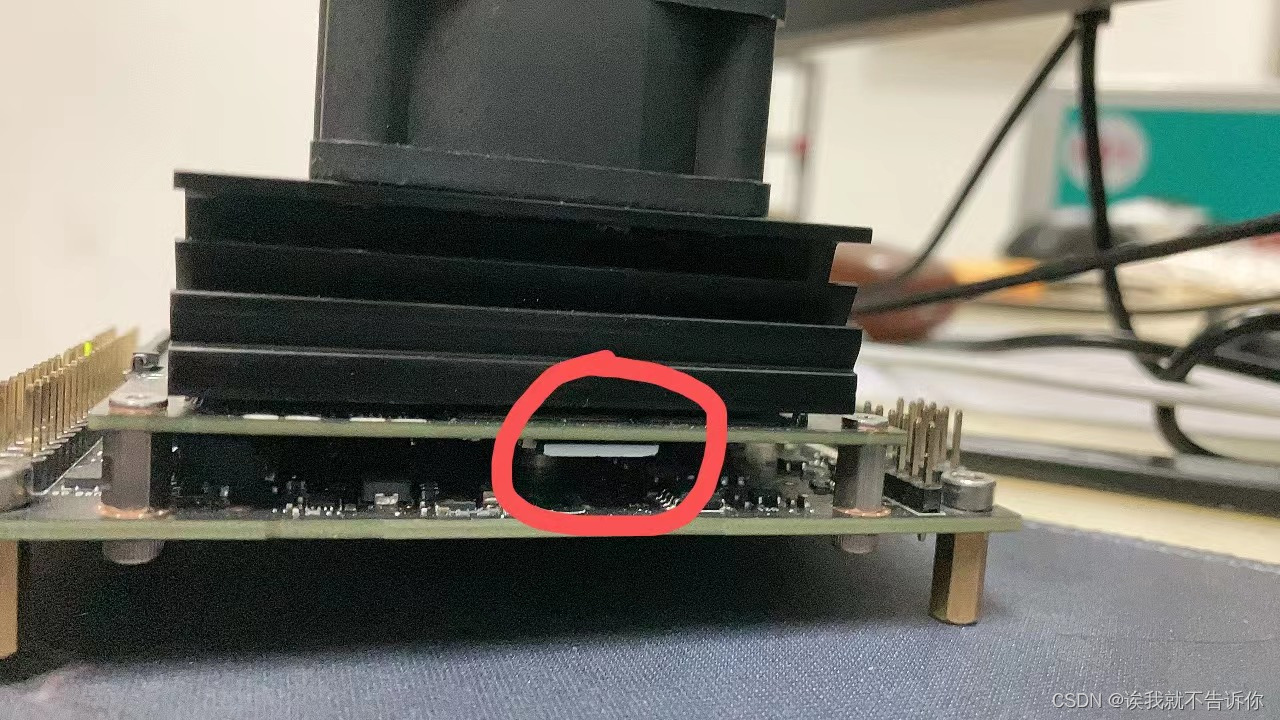
当镜像烧录好之后插入jetson nano 的 SD卡的卡槽 小心插拔这个sd卡槽,切忌用蛮力注意金手指朝上!!
然后烧录就完成啦!!! 我建议每个jetson nano都买个风扇这样的话就不会造成跑着跑着东西,nano自动关机啦!! 这样我们配置一下(配置的话我就不细说了基本上是默认滴,改一下语言就行了)
每个nano上应该都自动装着jtop ,可以实时监控nano的资源性能等信息(在任意路径下的Terminal输入jtop即可启动)
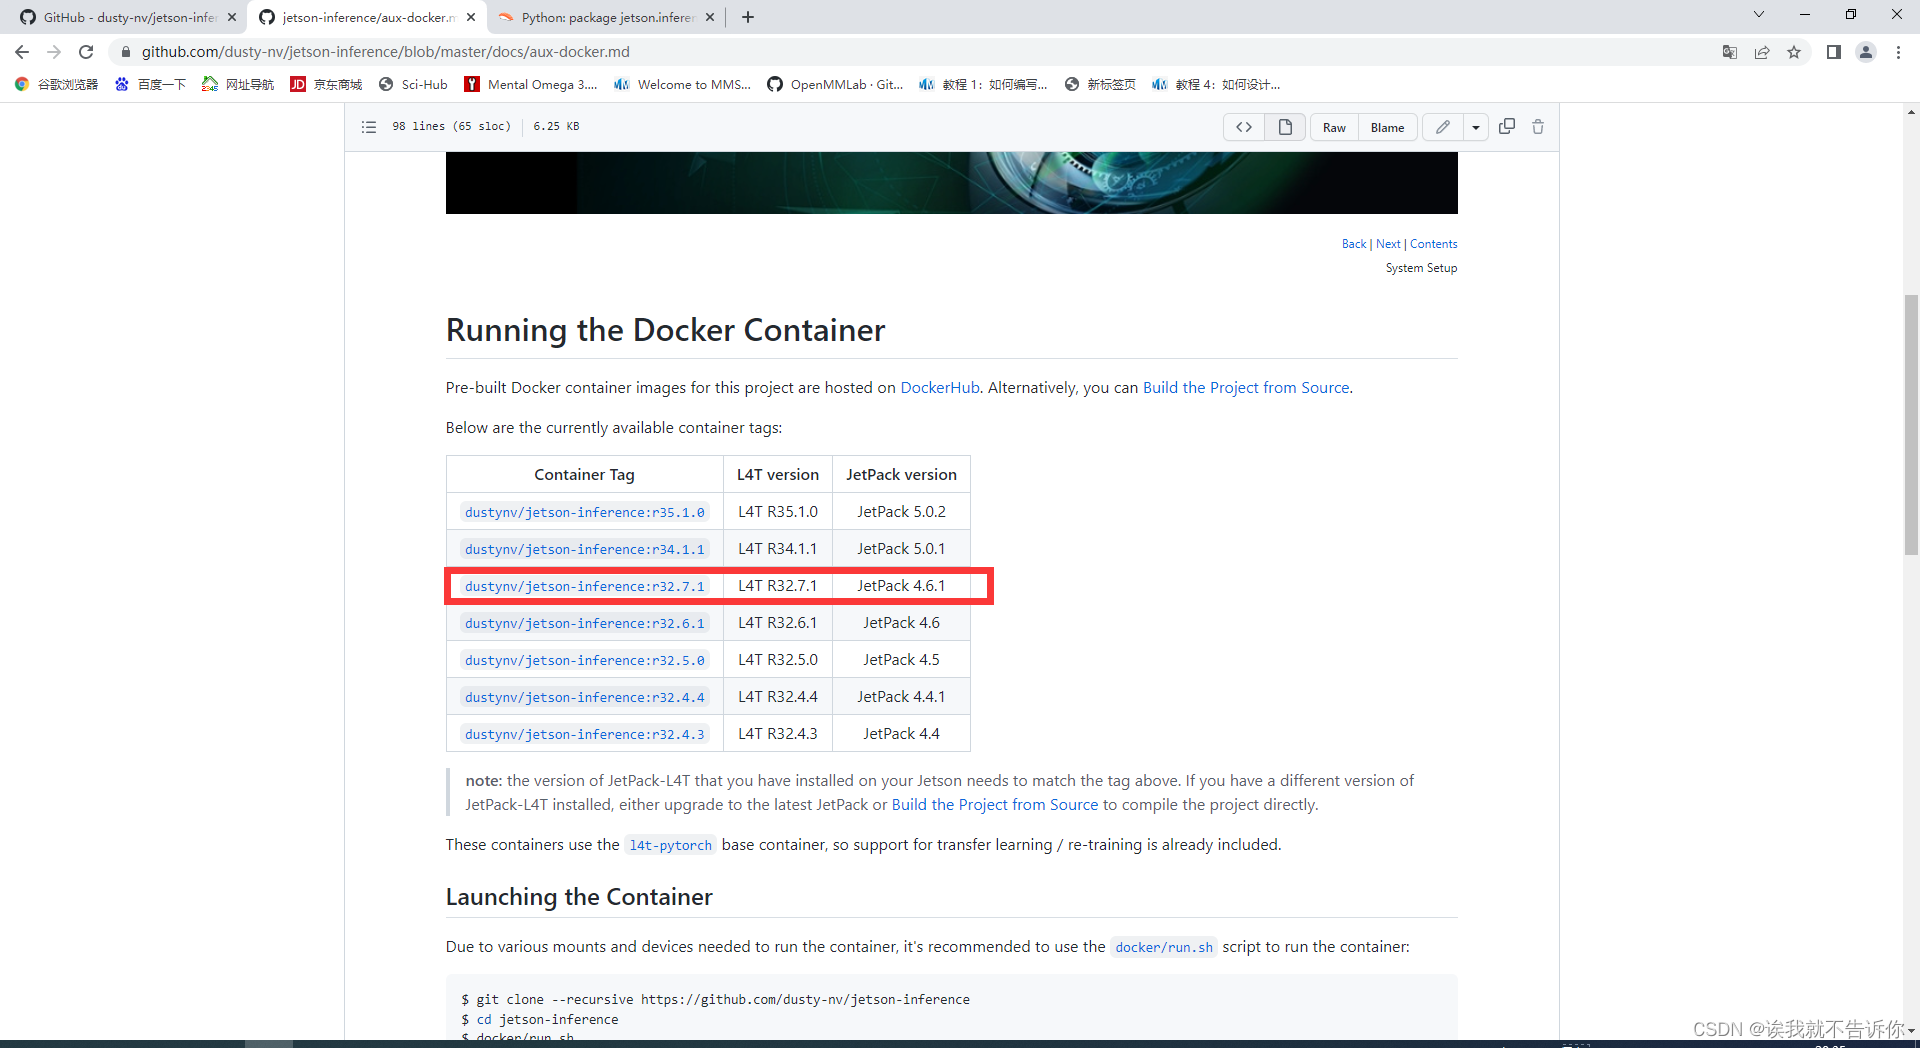
在github上官网找到,并且选择docker镜像的方法 GitHub - dusty-nv/jetson-inference: Hello AI World guide to deploying deep-learning inference networks and deep vision primitives with TensorRT and NVIDIA Jetson.Hello AI World guide to deploying deep-learning inference networks and deep vision primitives with TensorRT and NVIDIA Jetson. - GitHub - dusty-nv/jetson-inference: Hello AI World guide to deploying deep-learning inference networks and deep vision primitives with TensorRT and NVIDIA Jetson. 并且在 选择JetPack 4.6.1的版本对应jetson nano 烧录镜像的版本号 在jetson nano 的Terminal上输入 docker pull dustynv/jetson-inference:r32.7.1 提示没有权限所以我们要到Docker Hub 这里去注册一下自己 的账号 然后在Terminal上登录 docker login --username 账号名 再进行拉取镜像 在拉取镜像的Terminal路径下会生成一个jetson-inference的文件集是容器在宿主机的数据
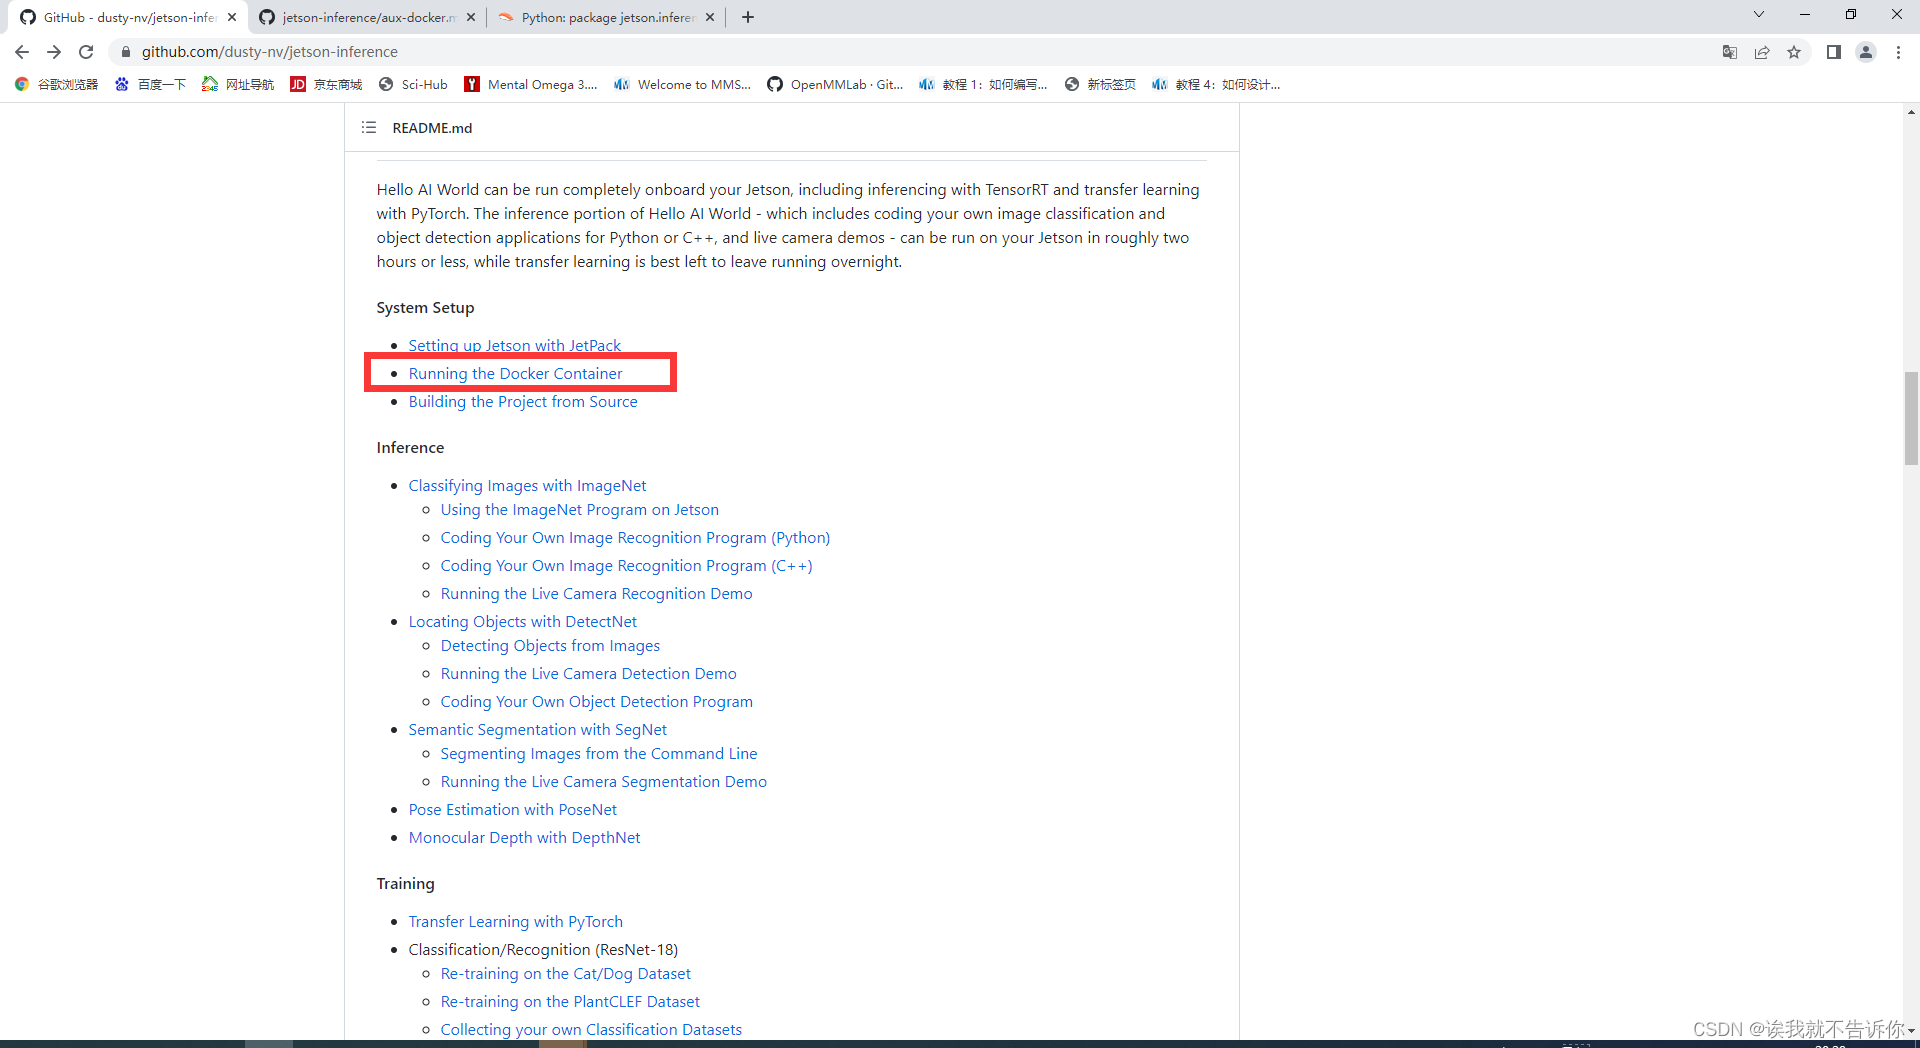
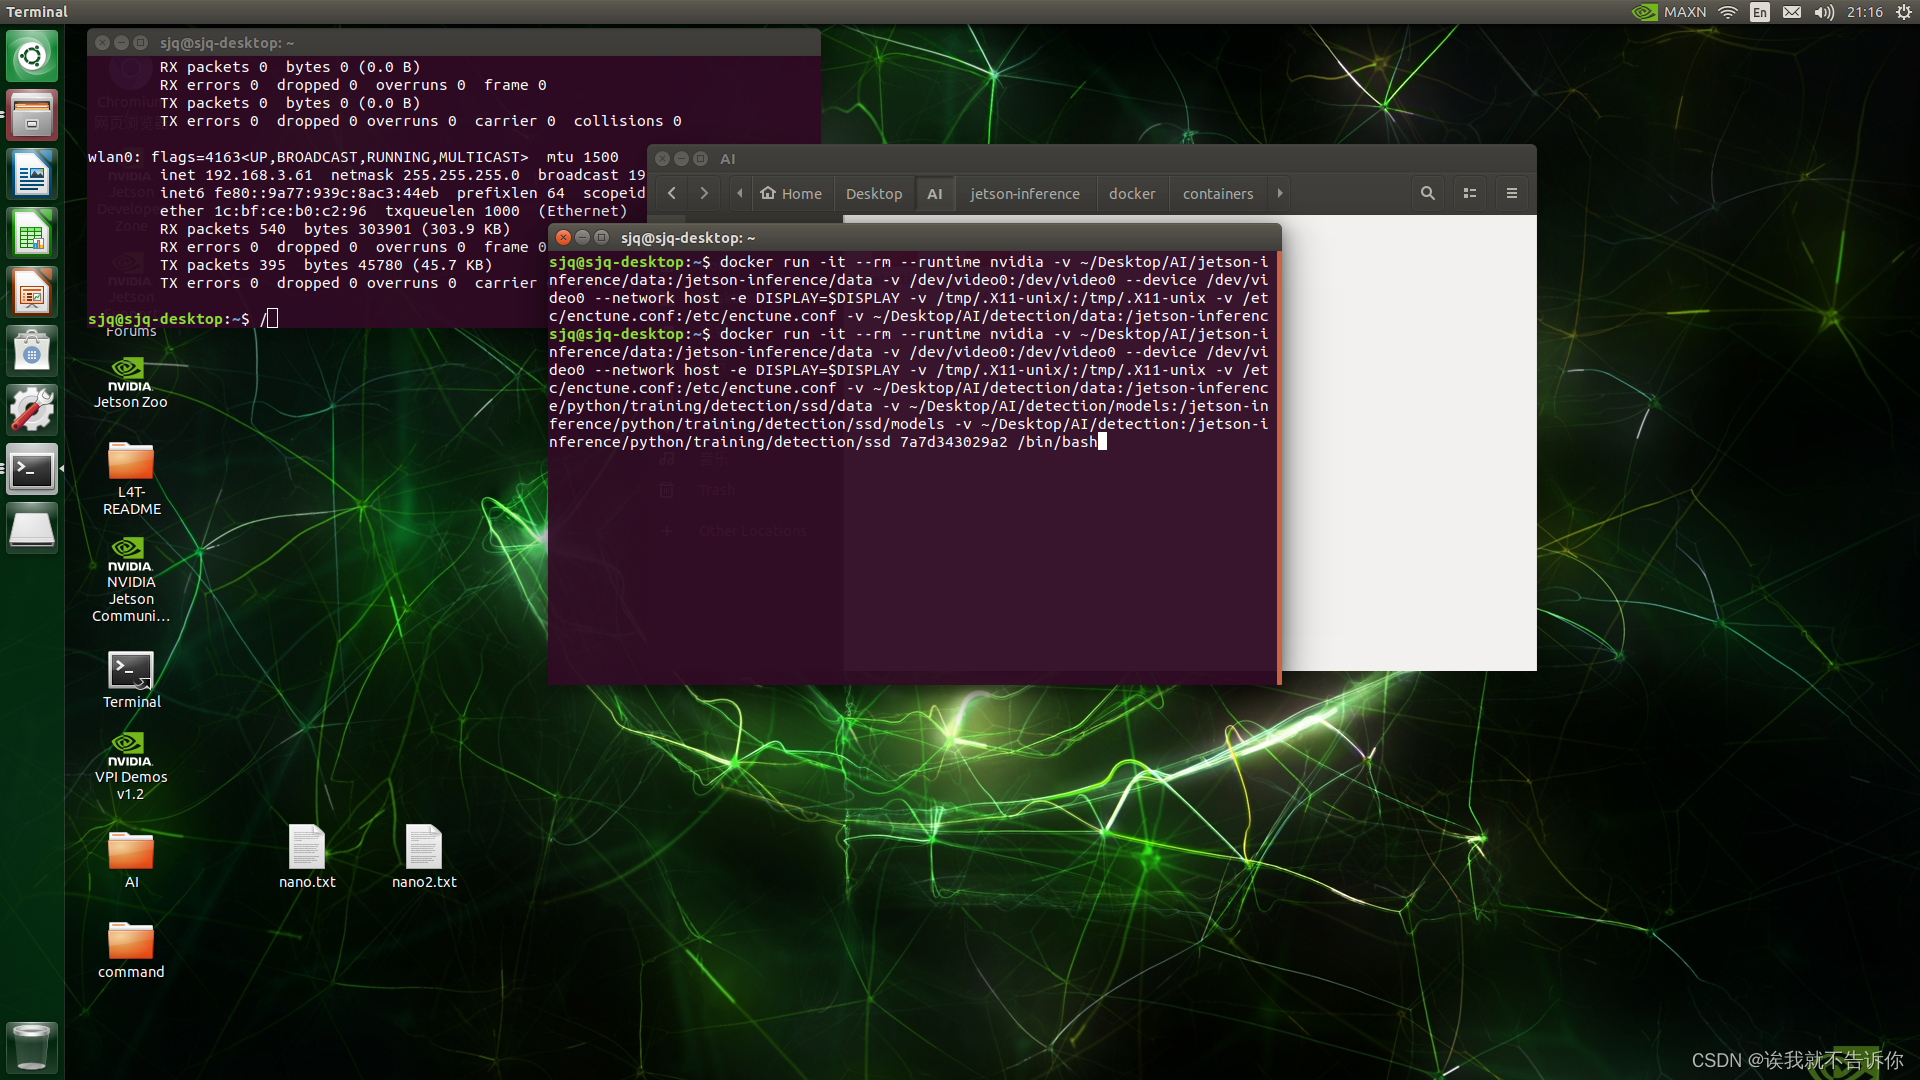
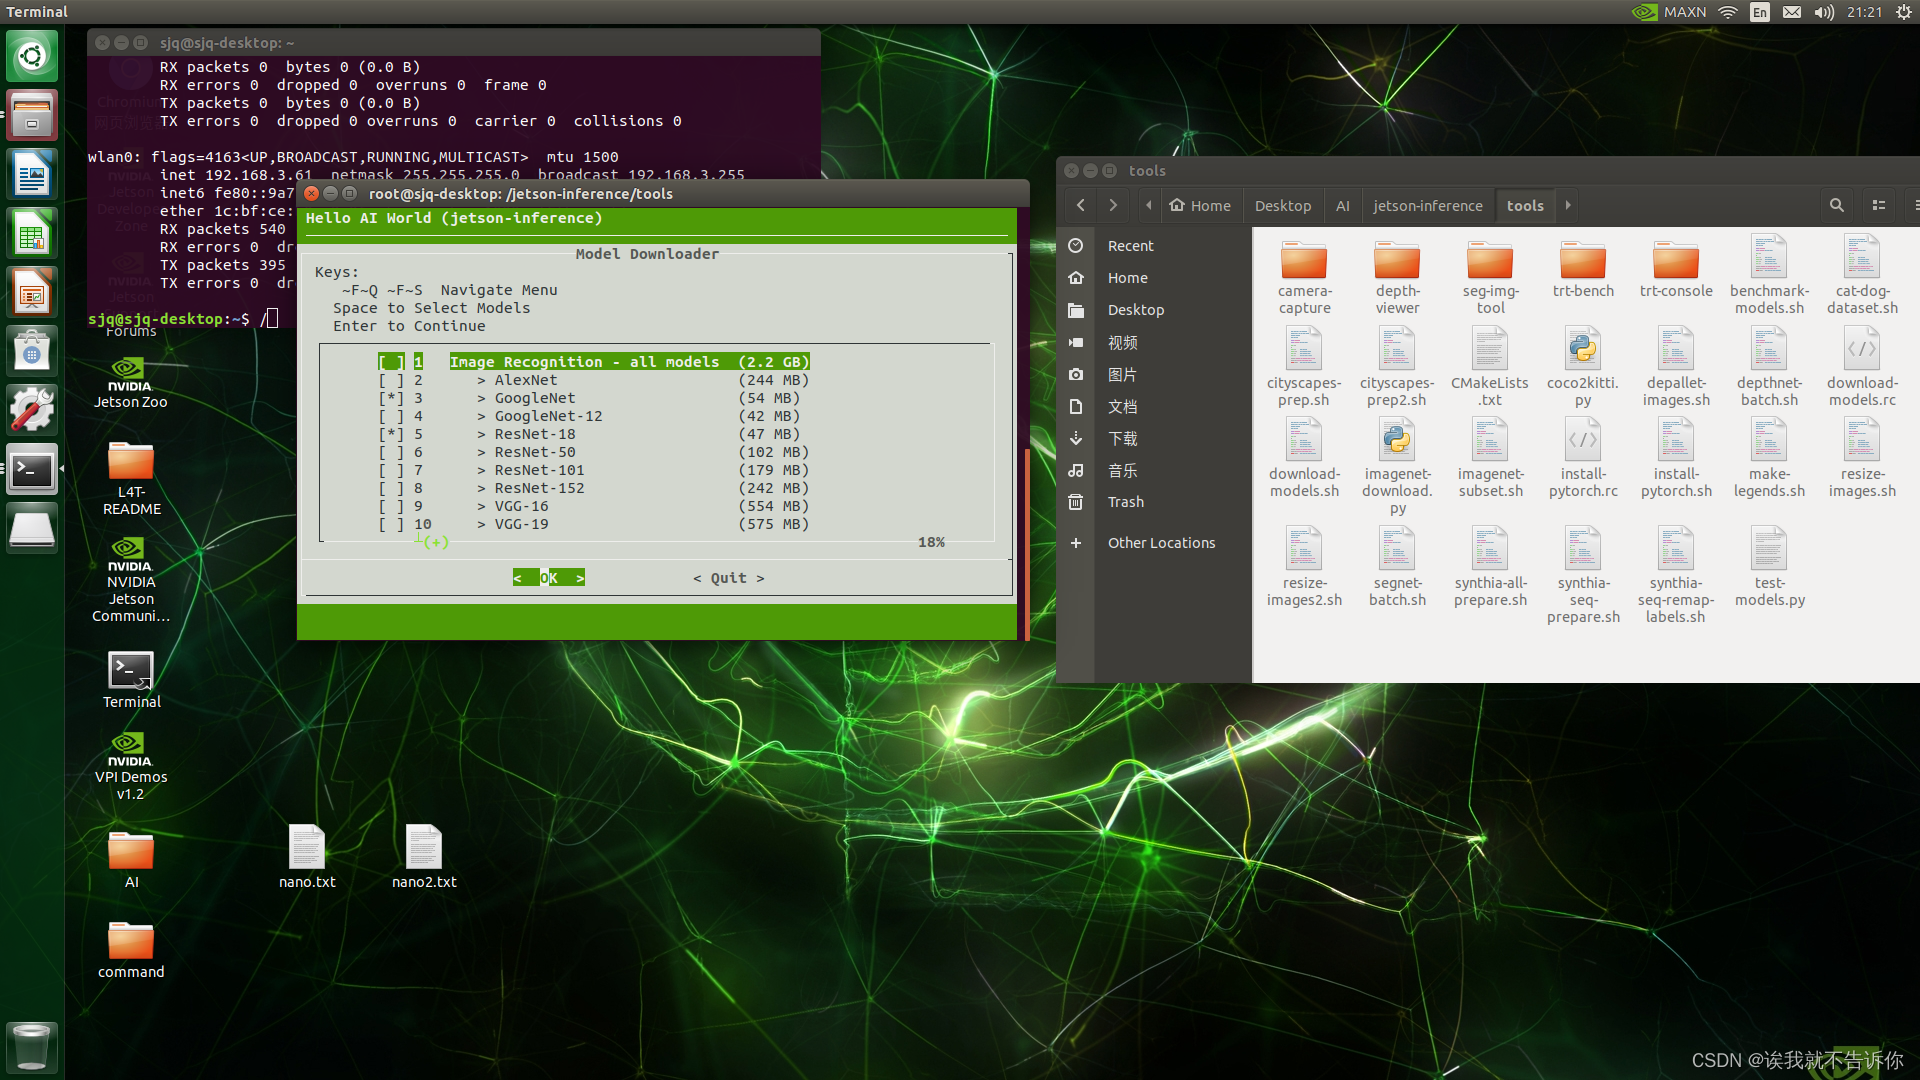
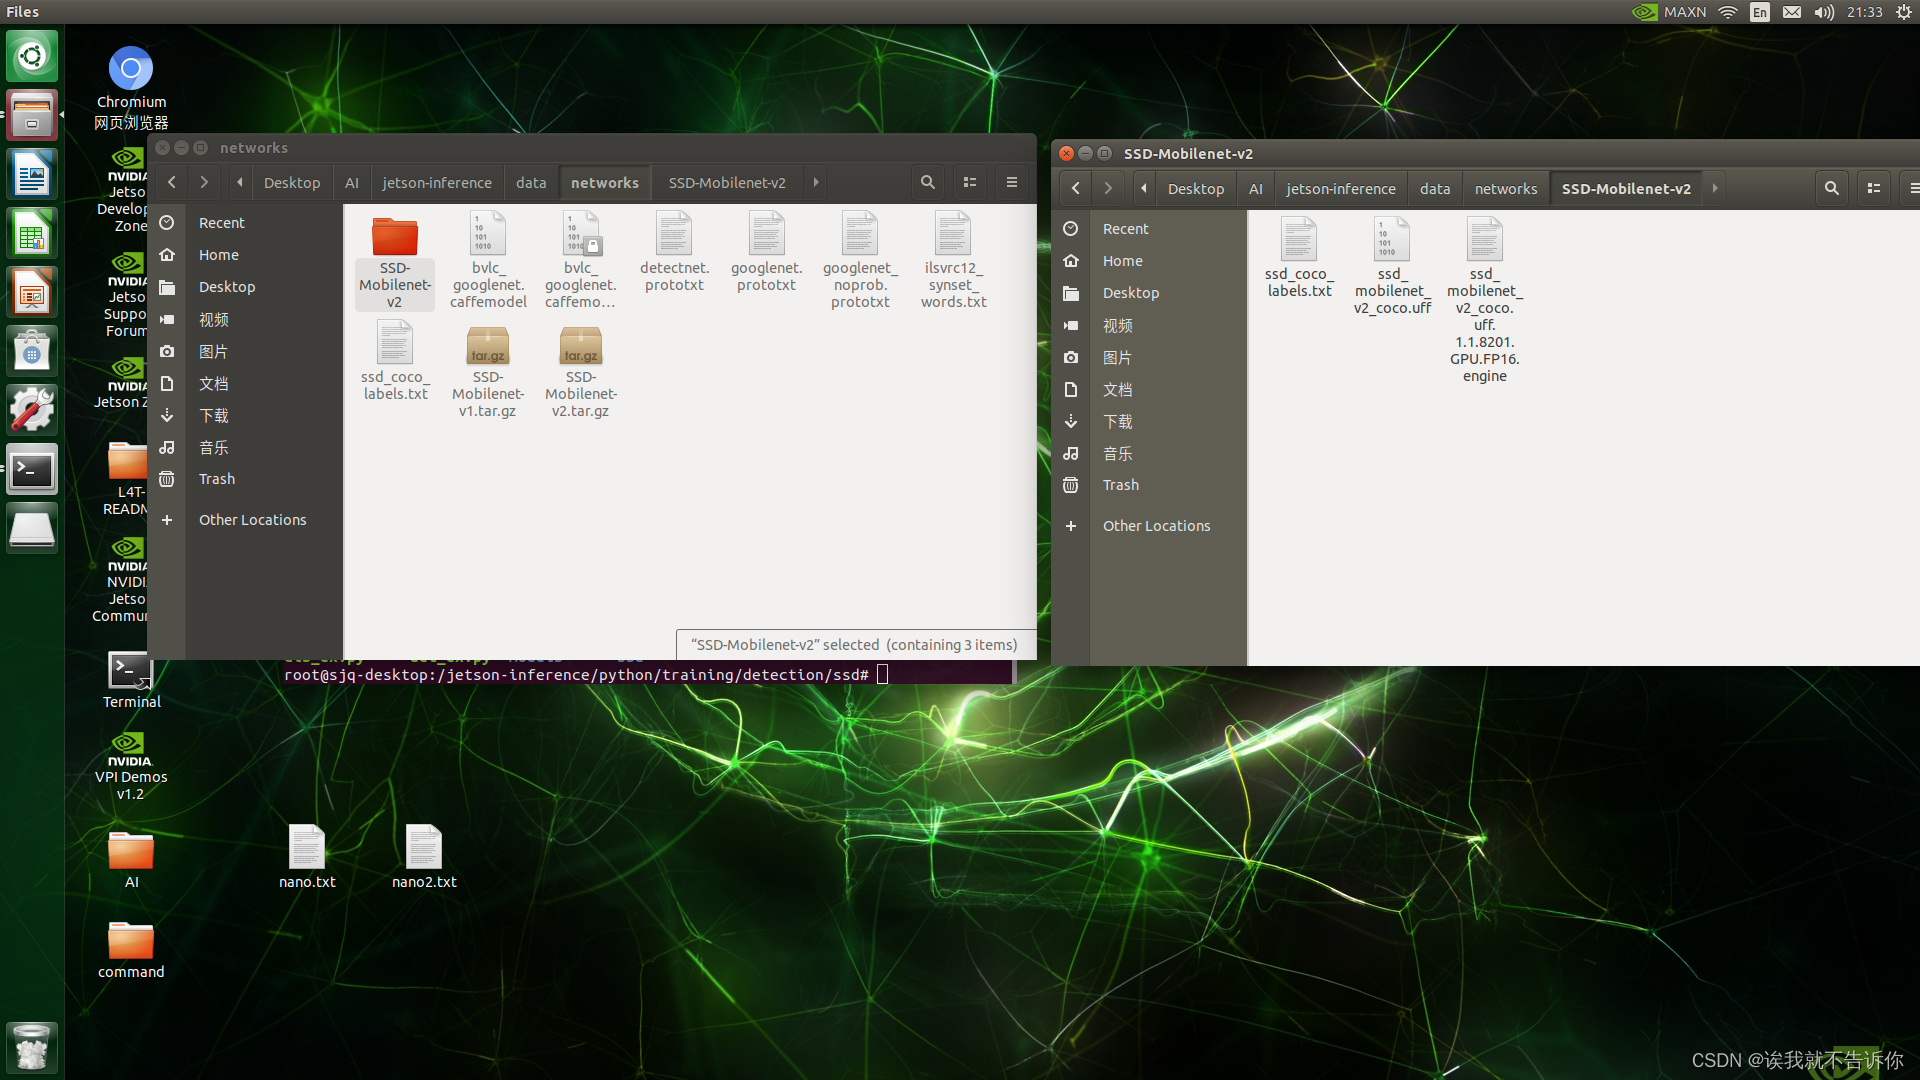
• docker run --runtime nvidia -it 【容器id】 【命令】 并且我做的是detection任务所以我又创建了一个的detection的文件夹去让容器被映射到. 在终端中输入那么一长串命令,你们得根据自己的地址以及自己的摄像头信息去整 docker run -it --rm --runtime nvidia -v ~/Desktop/AI/jetson-inference/data:/jetson-inference/data -v /dev/video0:/dev/video0 --device /dev/video0 --network host -e DISPLAY=$DISPLAY -v /tmp/.X11-unix/:/tmp/.X11-unix -v /etc/enctune.conf:/etc/enctune.conf -v ~/Desktop/AI/detection/data:/jetson-inference/python/training/detection/ssd/data -v ~/Desktop/AI/detection/models:/jetson-inference/python/training/detection/ssd/models -v ~/Desktop/AI/detection:/jetson-inference/python/training/detection/ssd 7a7d343029a2 /bin/bash 这一长串命令 是为了进入容器中,并且要让自己宿主机的文件夹映射到容器中,不然很容易发生找不到文件夹的报错 进入到容器中 由于我都利用download-models.sh脚本在nano上自己下载好了模型文件,并且获取了onnx推理过的文件 下载的文件都在jetson-inferernce/data/networks里面, 当然解压过后是在jetson-inferernce/data/networks/SSD-Mobilenet-v2的文件夹中我们可以看到一个.uff文件这个文件和onnx一样是未经过tensorRT推理过的一个.engine文件是经过推理过的工程文件,ssd_coco_labels.txt是对应的txt文件 所以我可以直接调用模型文件 我先加入我自己映射到的文件夹 cd python/training/detection/ssd 然后我们去github上查看官方文档与官方例程jetson-inference/docs at master · dusty-nv/jetson-inference · GitHubHello AI World guide to deploying deep-learning inference networks and deep vision primitives with TensorRT and NVIDIA Jetson. - jetson-inference/docs at master · dusty-nv/jetson-inference
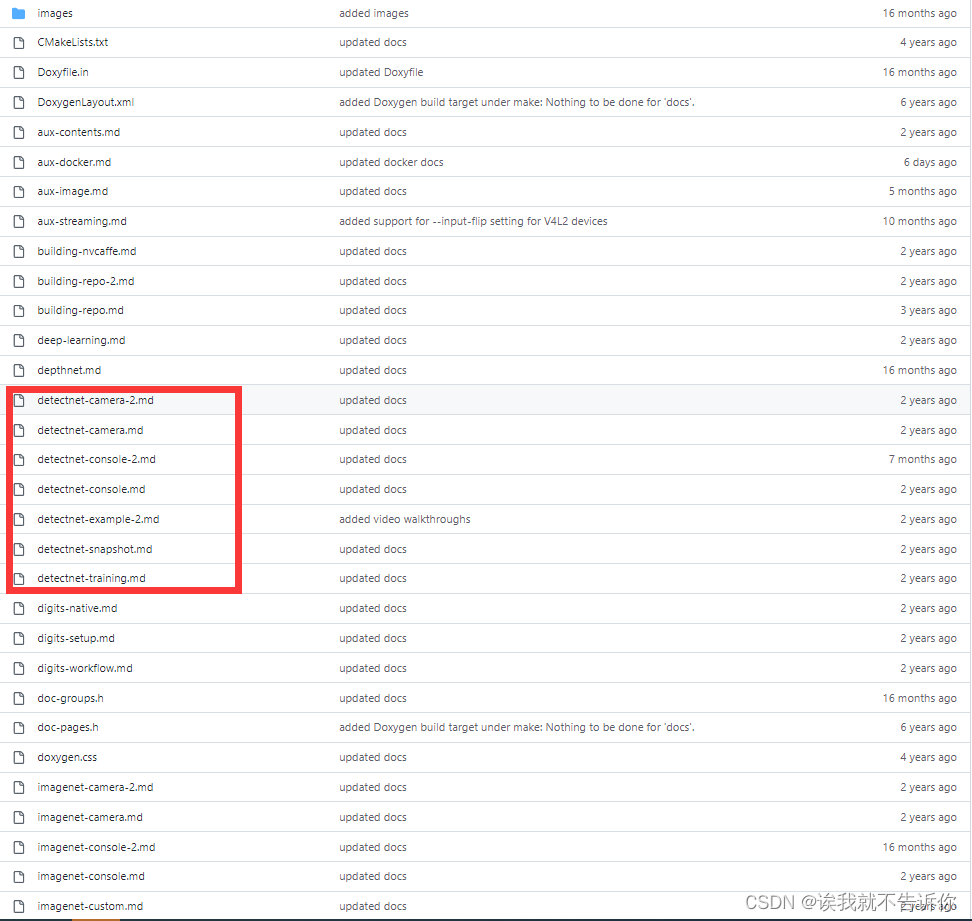
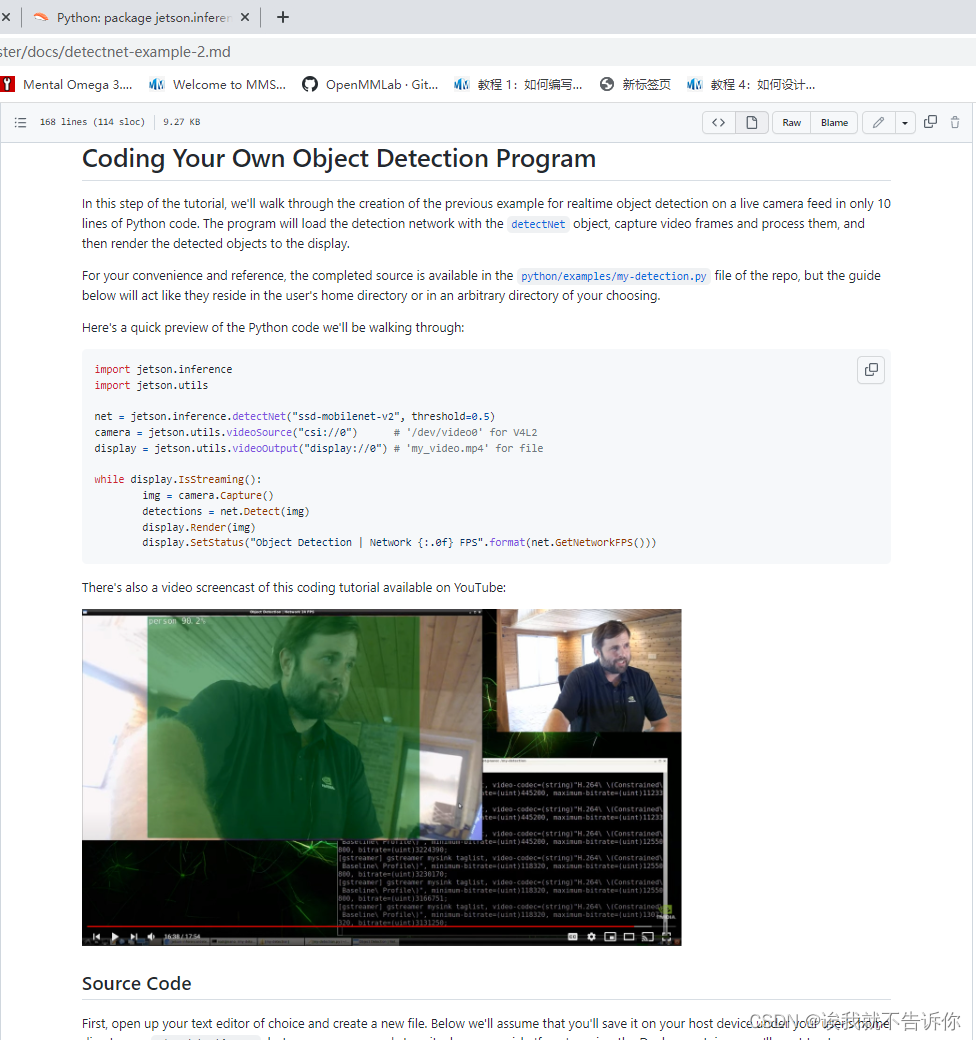
由于我这次做的都是detection的模型所以我打开了detectnet-example-2.md的文档
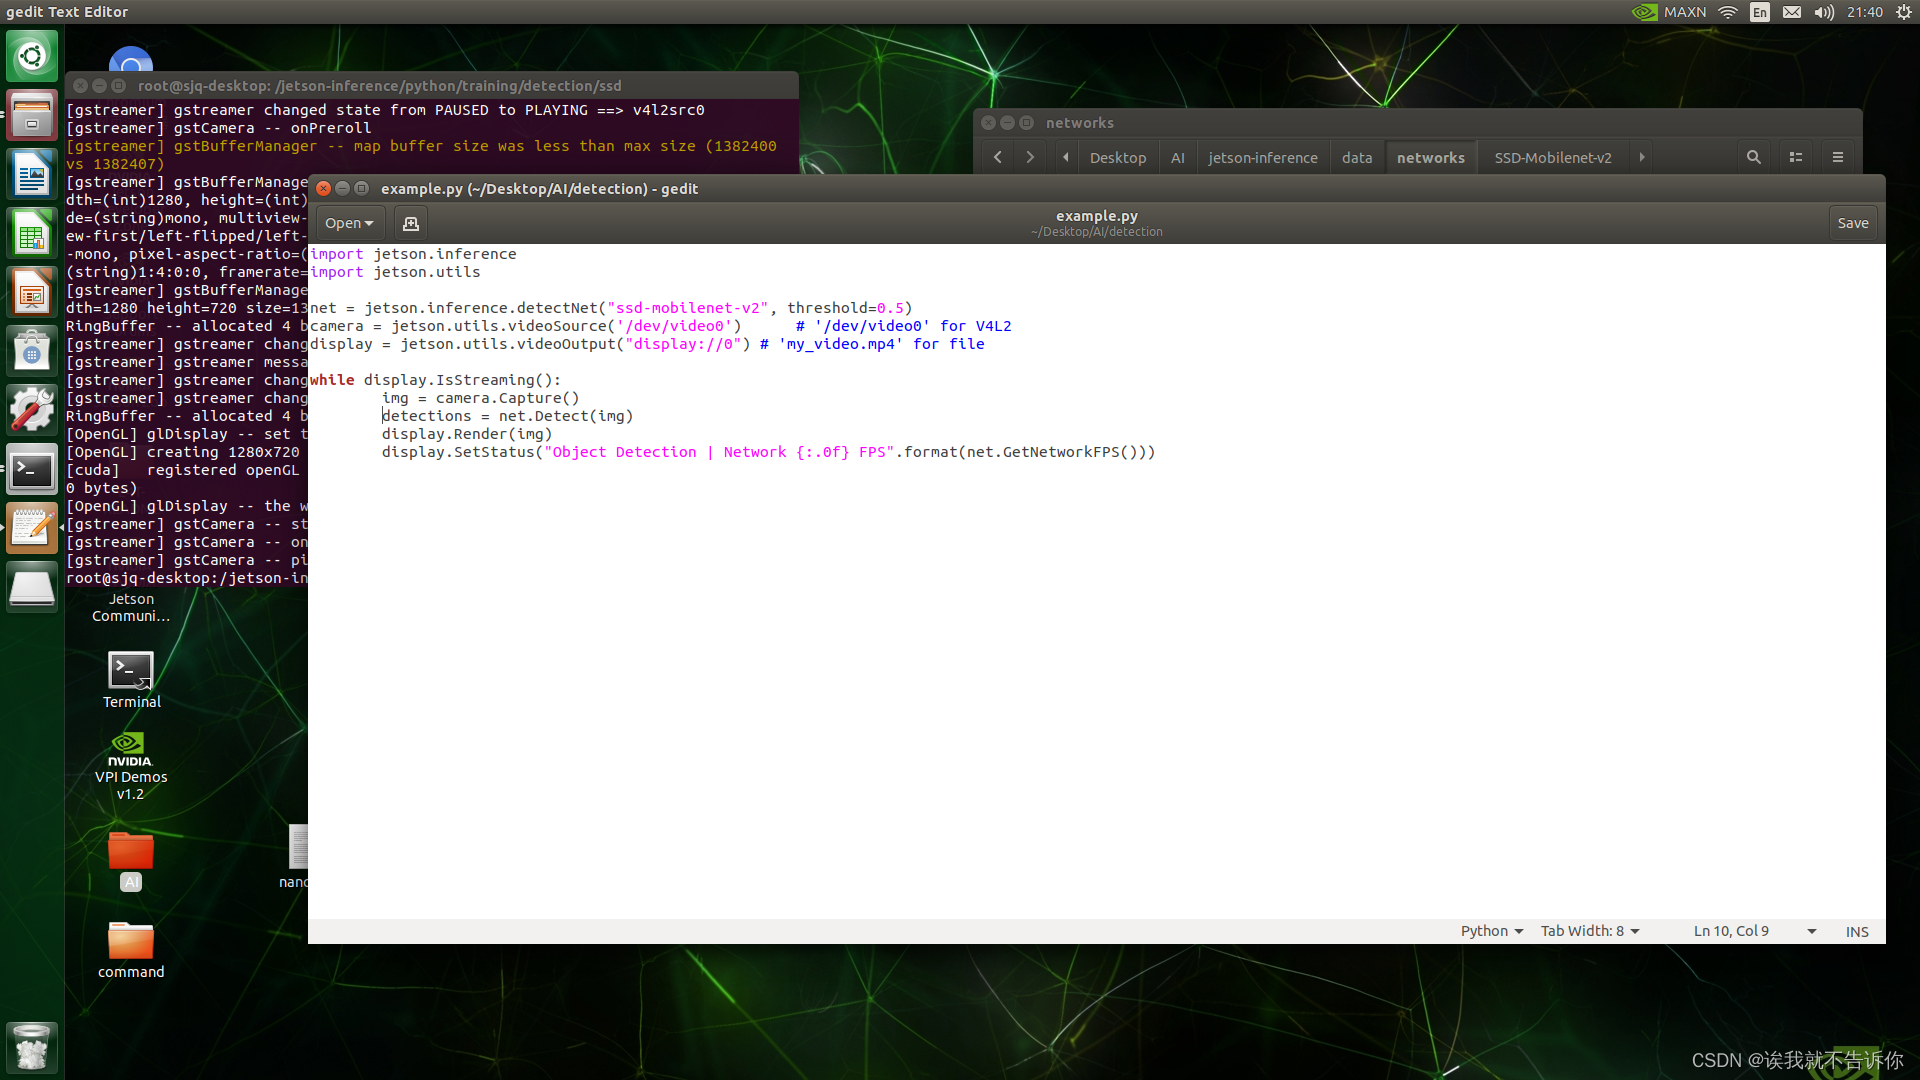
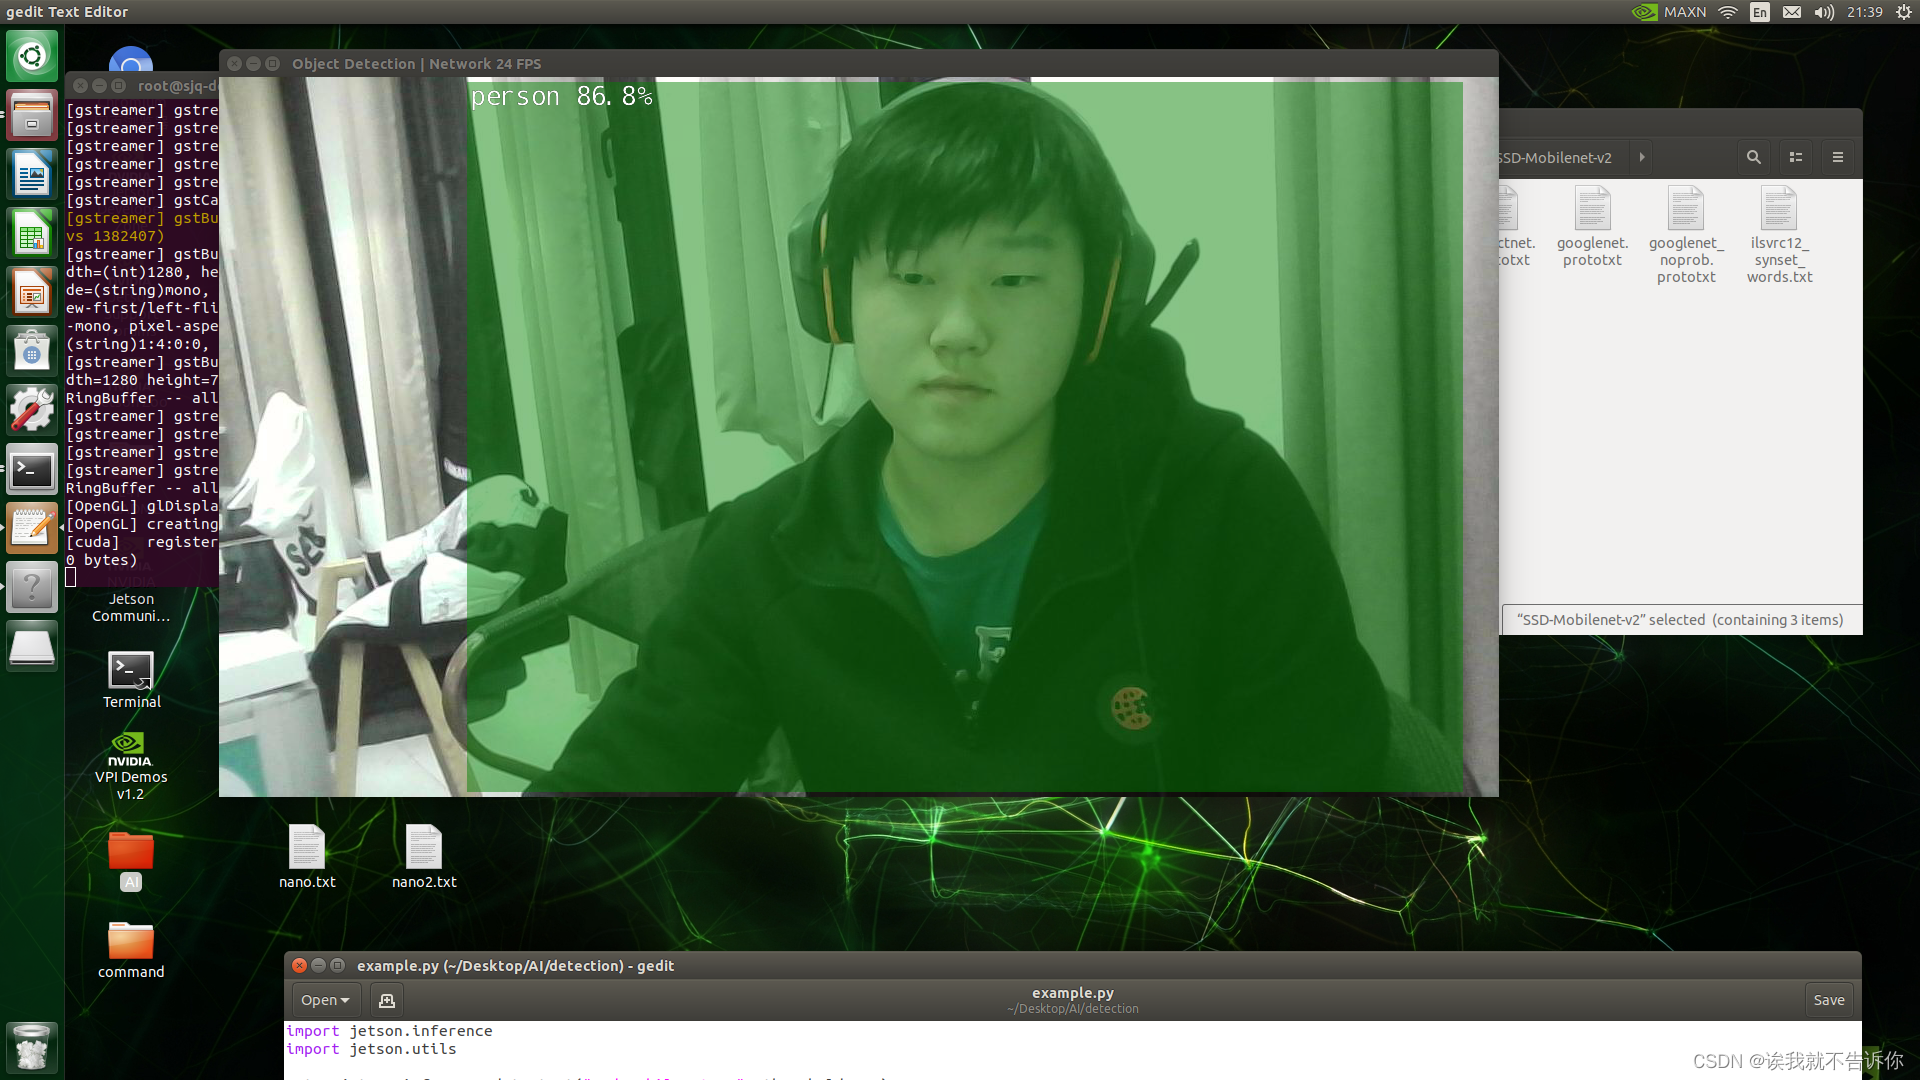
直接拷贝官方例程(但是注意一下你得改一下摄像头的参数哦!!!) 直接输入 python3 example.py运行就行了
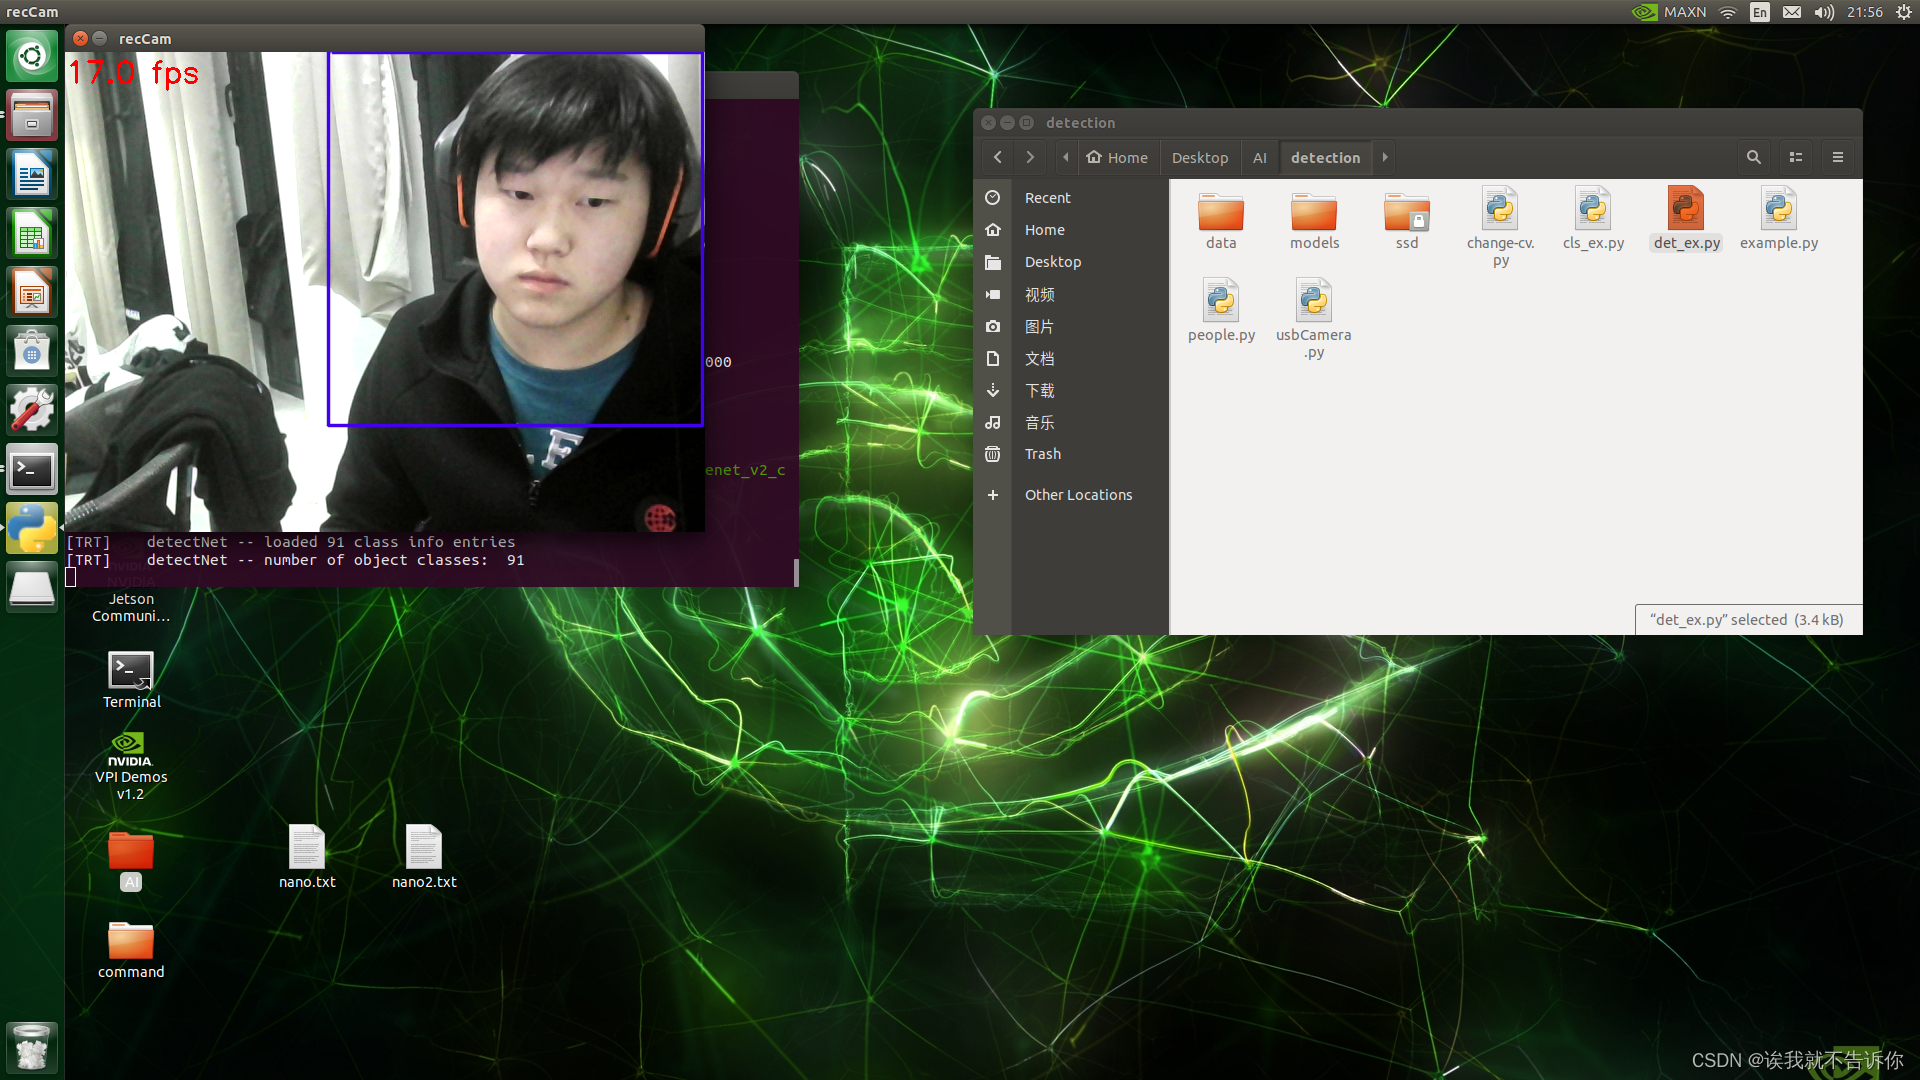
这个就是MobileNetV2的网络 跑出来的,但是只有24帧,我也测过mobilenetV1,有40多帧数 找到函数接口进行调整但是这些都是根据我们到例程,我们怎么做开发呢???本人熟练使用opencv,所以我想用opencv的操作去读取去整这些图像 所以我又苦逼的去查官网文档的函数参数去咯!!!
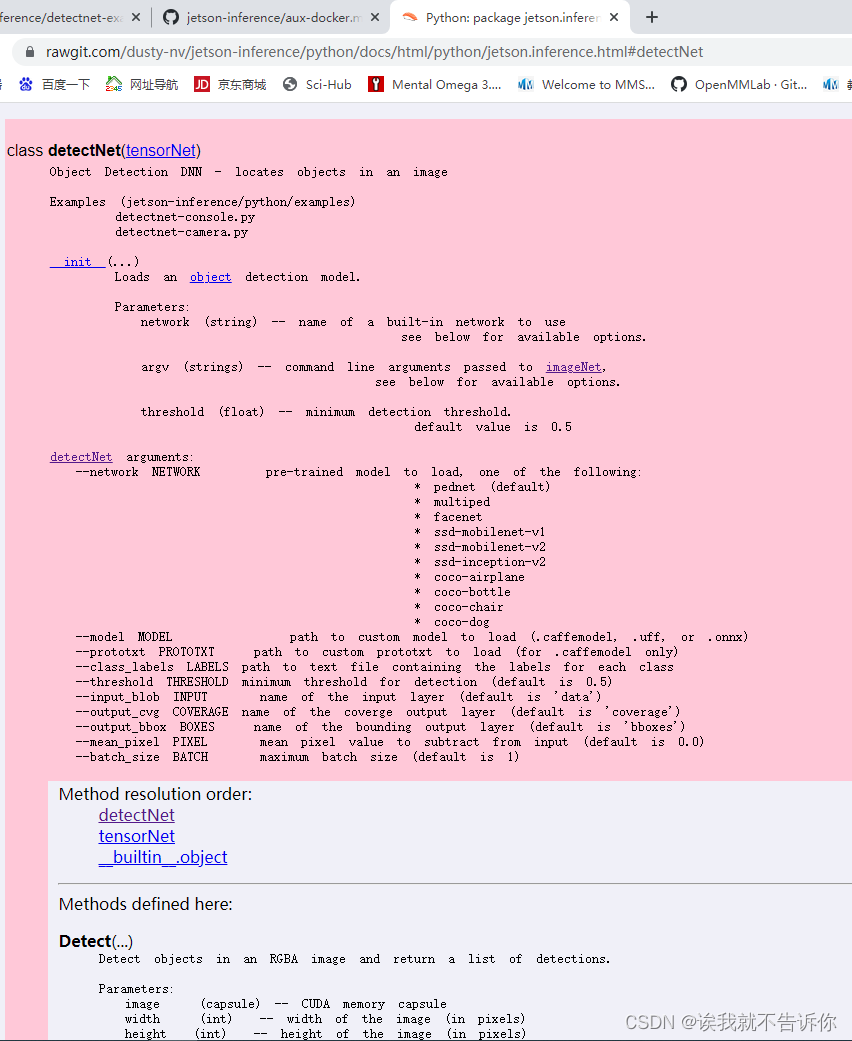
点击这个detectNet 然后就跳转到函数解析的地址了
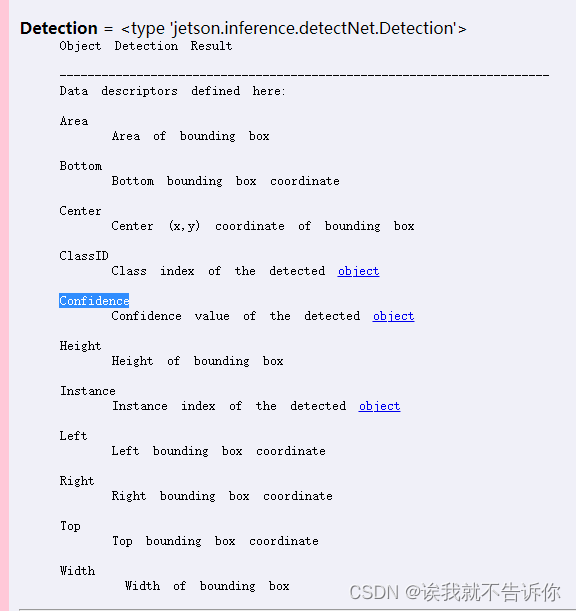
那么我就可以看到这个函数的参数和输出了,找了我2天的时间,我也是个新手,英文读的也是有点麻烦,终于找到了这个 detections = net.Detect(img)的输出 磨磨蹭蹭终于做好了修改,顺便加了一个框哈哈哈哈!那么这个阶段性成果就到这啦! import cv2 import jetson.inference import jetson.utils from jetson.inference import detectNet from jetson.utils import videoSource, videoOutput, logUsage, cudaFont import numpy as np import time import sys import random # width=1280 # height=720 # dispW=width # dispH=height # flip=2 #以下是使用nano板载摄像头 #camSet='nvarguscamerasrc ! video/x-raw(memory:NVMM), width=3264, height=2464, format=NV12, framerate=21/1 ! nvvidconv flip-method='+str(flip)+' ! video/x-raw, width='+str(dispW)+', height='+str(dispH)+', format=BGRx ! videoconvert ! video/x-raw, format=BGR ! videobalance contrast=1.5 brightness=-.3 saturation=1.2 ! appsink ' #cam1=cv2.VideoCapture(camSet) #此处我们使用的usb摄像头 cam1=cv2.VideoCapture('/dev/video0') #cam1.set(cv2.CAP_PROP_FRAME_WIDTH,dispW) #cam1.set(cv2.CAP_PROP_FRAME_HEIGHT,dispH) #添加自己训练的模型,预训练后面加数组,添加自己的模型标签!! #net=jetson.inference.imageNet('alexnet',['--model=/home/nano/jetson-inference/python/training/classification/myModel/resnet18.onnx','--input_blob=input_0','--output_blob=output_0','--labels=/home/nano/jetson-inference/myTrain/labels.txt']) #=======# # # # # #=======# def plot_one_box(x, img, color=None, label=None, line_thickness=None): # Plots one bounding box on image img tl = line_thickness or round(0.002 * (img.shape[0] + img.shape[1]) / 2) + 1 # line/font thickness color = color or [random.randint(0, 255) for _ in range(3)] c1, c2 = (int(x[0]), int(x[1])), (int(x[2]), int(x[3])) cv2.rectangle(img, c1, c2, color, thickness=tl, lineType=cv2.LINE_AA) if label: tf = max(tl - 1, 1) # font thickness t_size = cv2.getTextSize(label, 0, fontScale=tl / 3, thickness=tf)[0] c2 = c1[0] + t_size[0], c1[1] - t_size[1] - 3 cv2.rectangle(img, c1, c2, color, -1, cv2.LINE_AA) # filled cv2.putText(img, label, (c1[0], c1[1] - 2), 0, tl / 3, [225, 255, 255], thickness=tf, lineType=cv2.LINE_AA) #=========配置=========# net = detectNet("ssd-mobilenet-v2", threshold=0.5) #网络配置 font=cv2.FONT_HERSHEY_SIMPLEX #字体设置 timeMark=time.time() fpsFilter=0 cls_num= 100 colors = [[random.randint(0, 255) for _ in range(3)] for _ in range(cls_num)] #======================# #以下是opencv处理 while True: _,frame=cam1.read() img=cv2.cvtColor(frame,cv2.COLOR_BGR2RGBA).astype(np.float32) img=jetson.utils.cudaFromNumpy(img) detections = net.Detect(img) if len(detections)>0: for detection in detections: lab_id = detection.ClassID label = '%s %.2f' % (net.GetClassDesc(lab_id), detection.Confidence) x1y1x2y2 = [detection.Left,detection.Top,detection.Right,detection.Width] plot_one_box(x1y1x2y2,frame,color = colors[lab_id],label = label) dt=time.time()-timeMark fps=1/dt fpsFilter=.95*fpsFilter +.05*fps timeMark=time.time() cv2.putText(frame, str(round(fpsFilter, 1)) + ' fps ', (0, 30), font, 1, (0, 0, 255), 2) cv2.imshow('recCam',frame) ###记住重新绘制函数名字要一样!!!!别瞎动这两个函数,不然直接死机 cv2.moveWindow('recCam',0,0) ###记住重新绘制函数名字要一样!!!! if cv2.waitKey(1)==ord('q'): break cam1.release() cv2.destroyAllWindows()
下一阶段那么就是得做自己训练的网络再进行直接识别和开机启动与复制sd卡 |

 https://github.com/dusty-nv/jetson-inference
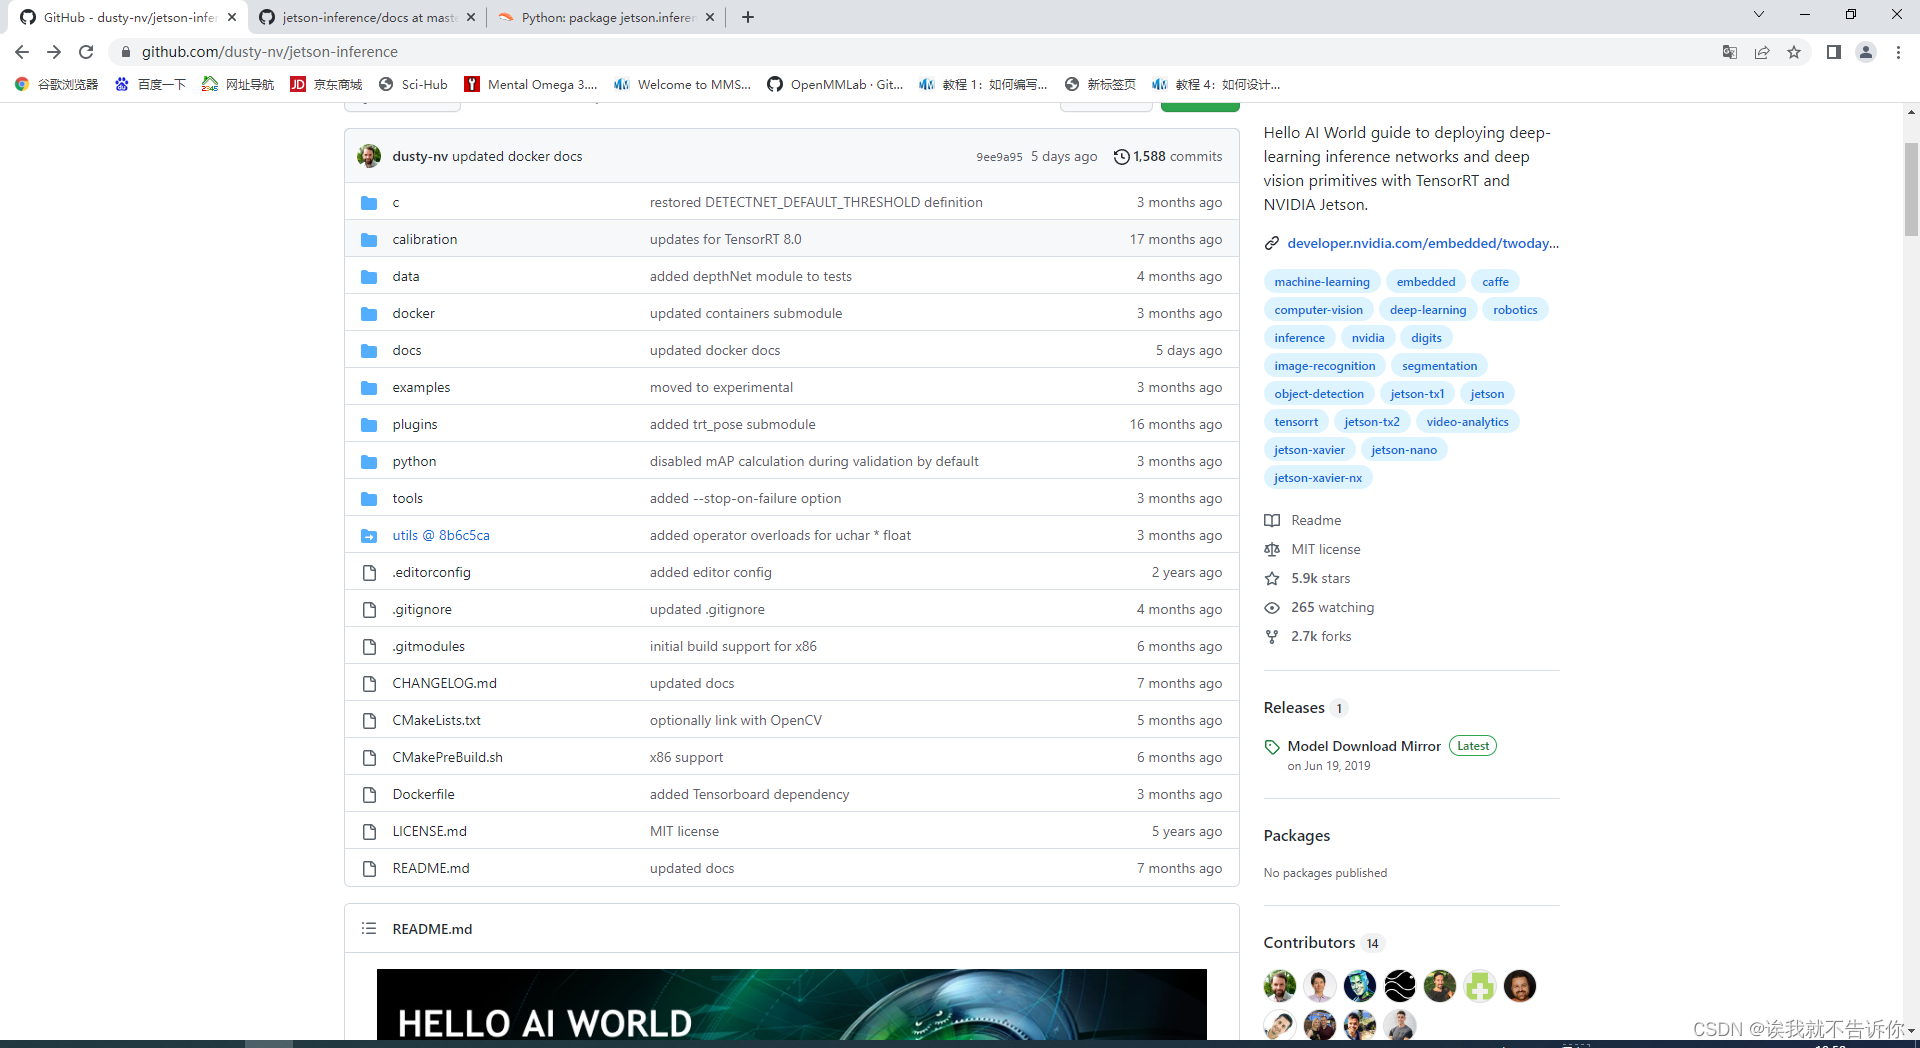

【本文地址】
今日新闻 |
推荐新闻 |